Paint correction sits at the heart of serious car detailing, not as a buzzword but as a disciplined process that turns dull, swirled finishes into something that looks wet even under a harsh shop light. Plenty of vehicles respond well to a one-step. Then there are paints that refuse to give up defects without a fight, or respond with a hazy, muted finish after an aggressive pass. That is the line where a two-step paint correction proves its worth, offering targeted cutting to remove deeper defects followed by a refining stage that restores clarity and depth. When executed correctly, it can deliver the missing 10 to 20 percent of gloss that separates a tidy car from a truly corrected one.
What two-step actually means, and what it does not
Two-step paint correction is a structured sequence: a cutting phase to level the paint and remove moderate to heavy defects, followed by a polishing phase to clear micro-marring, haze, and light holograms left by the initial cut. It is not simply doing the same pass twice, and it is not a shortcut for ignoring proper prep. Each step relies on specific combinations of pad, compound or polish, machine, pressure, and technique.
Think of the top few microns of clear coat as your working material. Cutting removes a controlled amount to level scratches. Polishing refines the surface to a higher gloss so it can accept a ceramic coating or sealant without trapping haze. A proper two-step also addresses panel-specific behavior, because the clear coat on a German sedan does not behave like the softer, stickier clear on a Japanese compact or the medium, sometimes finicky clears on domestic trucks and RV detailing projects.
When a one-step is not enough
The honest test happens under proper lighting. Sunlight can be revealing, but a bright LED swirl finder or a scan light at different angles shows what is really happening in the paint. Situations that typically call for two steps include dealer-installed swirls, improper wash marring that looks like spiderwebbing under a spotlight, water spot etching that did not respond to chemical decon, and sanding mark removal after bodywork. On dark colors, even a mild compound can leave faint haze that only a dedicated polish will clear.
I have seen plenty of daily drivers that measured decent gloss on a meter but looked cloudy in halogen lighting. A mild, all-in-one product improved them, but the clarity remained muted, especially on black and deep blue. In those cases, a firm foam or microfiber cutting pad with a diminishing abrasive, followed by a fine foam finishing pad and a jeweling polish, turned a 70 percent result into something that reads as 90-plus percent from any angle. The difference becomes obvious on curved panels like fenders and rear quarters, where light rolls and reveals micro-marring.
The prep that sets up a clean two-step
The best cut and polish will not save a rushed prep. Wash gently with a fresh mitt and proper lubrication, not just to remove dirt, but to avoid preloading more marring. Iron removers matter even on lighter colored paint, since fallout hides until the pad drags across it. Clay only after a chemical decon to minimize friction. If it feels gritty, switch to a clay mitt lubricated with a dedicated clay lube or a rinseless wash mixed on the slicker side. This applies equally to marine detailing and RV detailing, where oxides and contaminants accumulate differently, but the principle is the same, decontaminate before correction.
Mask trims and high edges. Taping badges, PPF edges, and rubber seals prevents staining and edge burn. Measure paint when you can. On many production cars, clear coat averages 30 to 50 microns. You are not removing all of that, of course, but even half a micron taken carelessly across thin edges can add up over multiple corrections. Respect the material.
The first step, the cut: balancing aggression and control
Cutting is not about grabbing the harshest compound and hoping for the best. It is about pairing the least aggressive combination that still corrects the targeted defects in a reasonable number of passes. A medium cut compound on a microfiber pad can bite like a heavy compound on a firm foam pad, depending on the paint. Work a test spot, usually on the worst panel. Two slow section passes with moderate pressure often tell you what you need to know.
Heat control matters. Long, slow passes on a dual-action machine can build temperature in the panel, which softens some clears and increases the chance of haze. On hot days, shorten the cycle, re-wet pads with a single spritz of distilled water or a pad conditioner, and clean the pads more often. Fiber pads load quickly with abraded clear coat, and a packed pad cuts unpredictably. Compressed air is ideal for fluffing microfiber between passes. If you do not have air on a mobile detailing job, a soft brush helps, but change pads more frequently.
Watch how the residue behaves. If it dusts, you may be overworking the product or using too little. If it smears, you may be using too much product, or the panel is too warm. Adjust in small increments. The paint will tell you what it wants if you listen for feedback through the machine and inspect often.
The second step, the refine: chasing clarity without overpolishing
After a strong cut, the panel should look flat but might show a uniform haze in the light. This is the time for a fine polish on a soft finishing pad, not extra pressure or long, drying cycles. I prefer to work in slightly smaller sections for the refine step, cross-hatching with modest arm speed. Many modern finishing polishes work best with light, consistent pressure until the film goes from opaque to a slight sheen, then reduce pressure for the final few passes.
Dark, soft paint can re-marr if the pad face is not perfectly clean. Keep two or three finishing pads on rotation for a whole car. That simple habit eliminates many mystery holograms people chase their tails over. If the finish still shows faint DA haze, consider switching to a different finishing polish with a different abrasive system, or jewel the surface by extending the final passes with almost no pressure. Do not chase a mirror finish on edges or thin repainted panels, it is better to accept 95 percent clarity than to risk cut-throughs.
Why two-step correction pairs so well with ceramic coating
A ceramic coating rewards a properly refined surface more than any sealant or wax. The coating adds hardness and chemical resistance, but it does not build optical depth. What you see after application is mostly the paint the way you left it, sheened by the coating’s refractive properties. If there is leftover micro-marring, the coating can highlight it. That is why we often connect two-step paint correction directly to ceramic coating projects, especially on black, red, and pearl white cars, as well as on boats where gelcoat clarity matters in marine detailing work.
For wheel coating, the process scales down to smaller surfaces and complex shapes. You rarely need a full two-step on wheels unless they are heavily marred or previously neglected, but a targeted cut and quick refine on faces and lips before a wheel coating pays off in both appearance and ease of cleaning. The same logic applies inside the cabin for interior coating of glossy piano trims. A cautious, ultra-light polish with a finishing pad can remove light haze, then the coating preserves that clarity against fingerprints and micro-scratches.
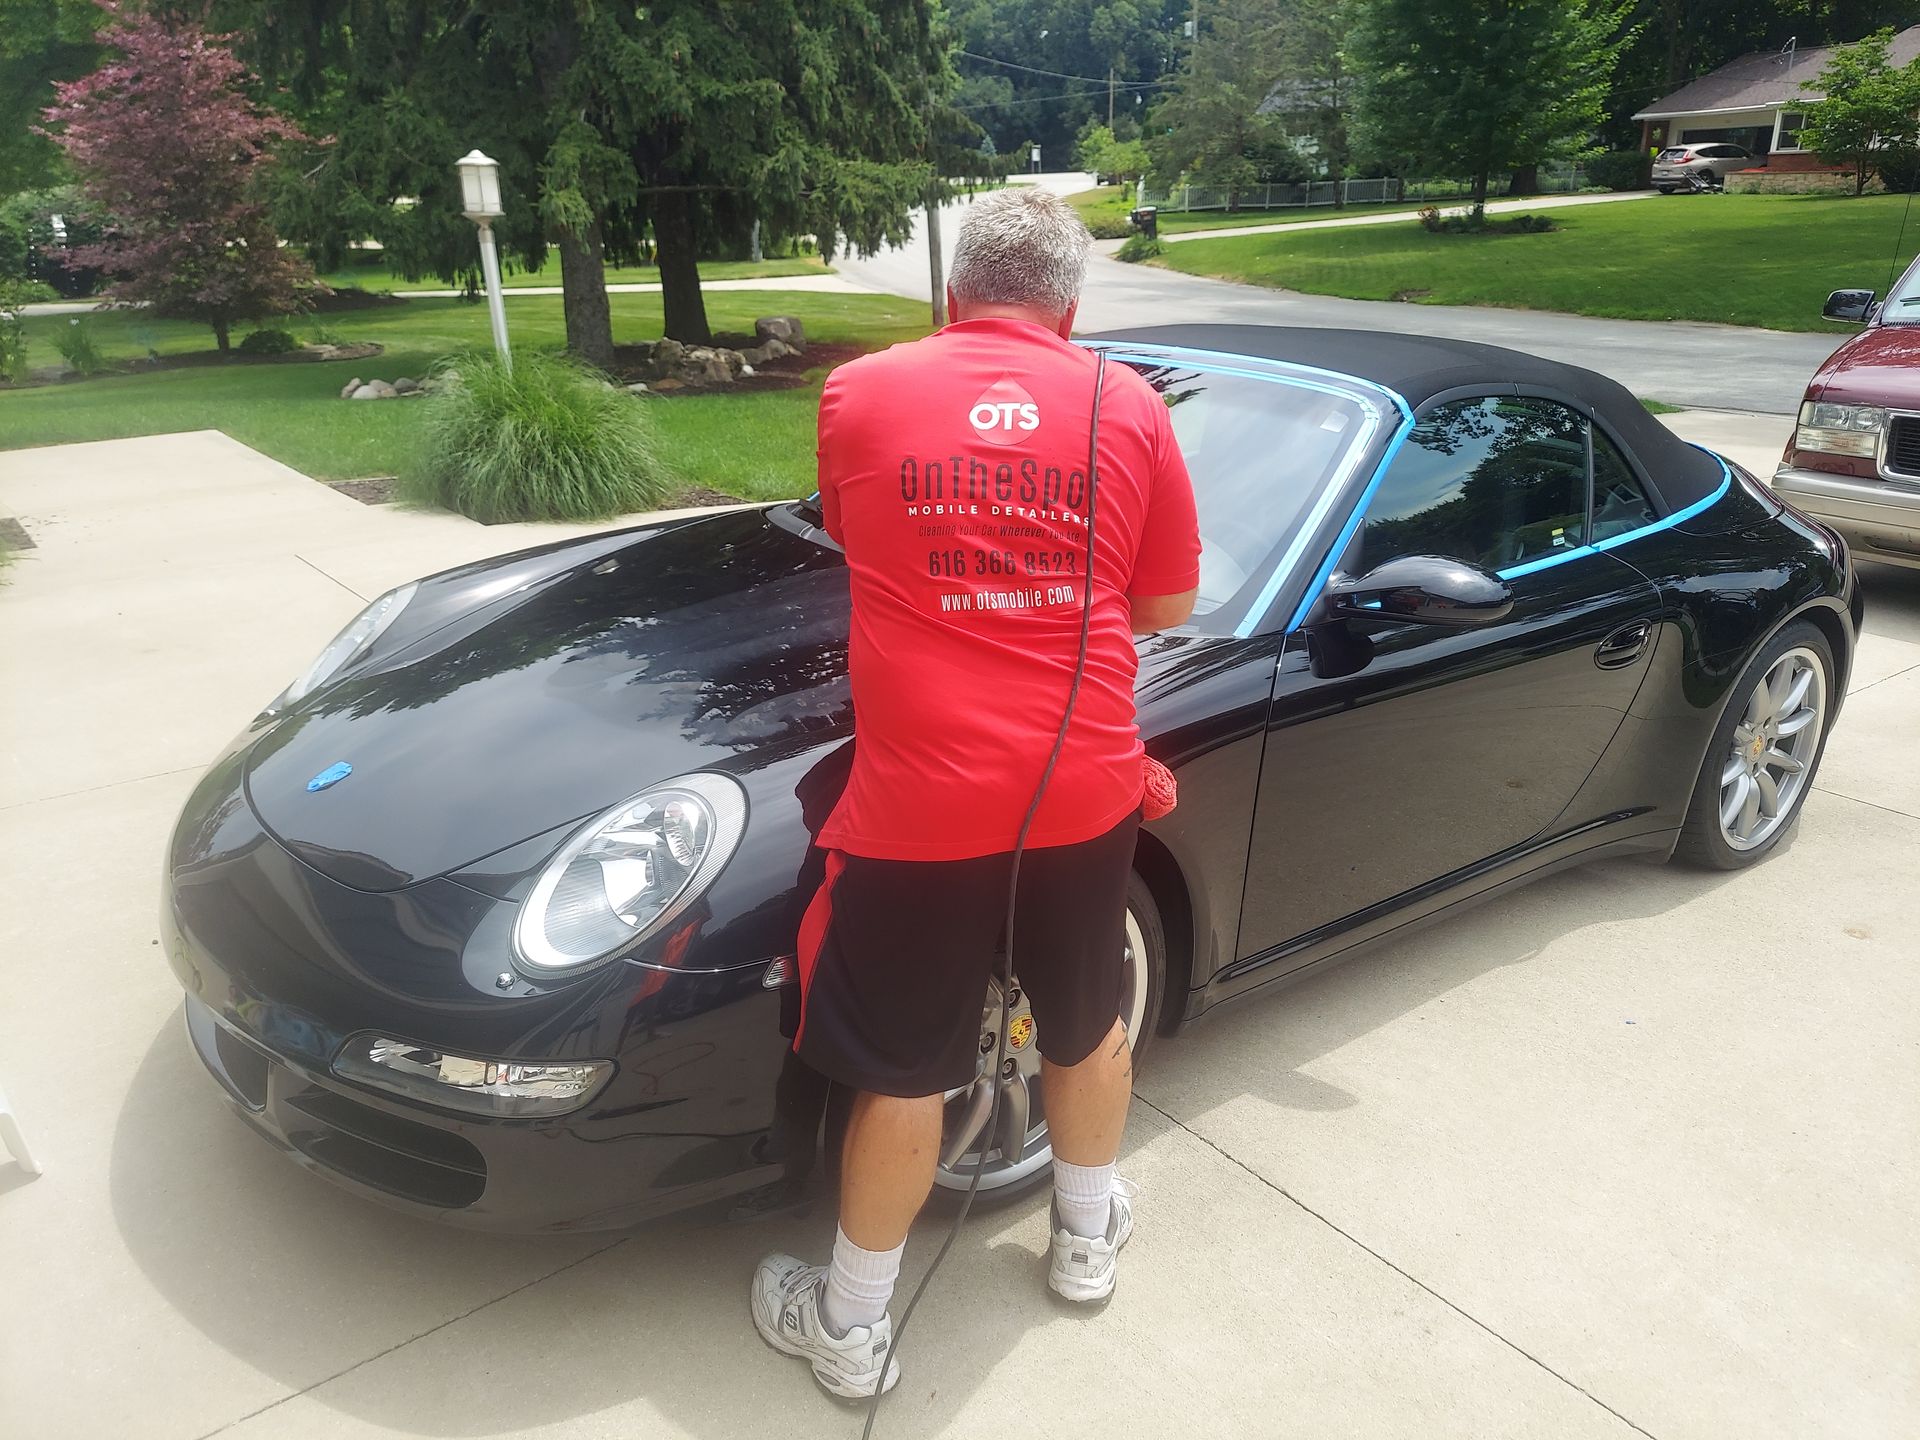
Case notes from the field: On the Spot Mobile Detailers and the two-step decision
At On the Spot Mobile Detailers, the work spans daily drivers, weekend toys, and a steady flow of trucks from contractors who live on job sites. One of the more telling jobs involved a black full-size SUV that went through half a dozen automatic washes per month. Under sunlight, it looked shiny. Under LED, the hood and doors showed uniform swirl trails and a few bird etchings that did not respond to cleaners. A one-step with a medium polish and a foam pad knocked out maybe half the swirls but left the finish dull compared to the untouched roof.
A switch to a microfiber cutting pad with a controlled cut compound on the hood, run in two moderate passes at a lower speed to manage heat, cleared the deeper marks. The finish, though, showed a fine mist of haze even after a careful wipe. The second step with a soft finishing pad and a fine polish took less time than the cut, but the visual payoff was immediate. What surprised the owner was not the reflections themselves, it was the way the edges of reflections looked crisp instead of soft. That is the hallmark of a proper refine step. The SUV then received a ceramic coating, which made washing quicker and sealed in the clarity we worked to achieve.
We have made the opposite decision too. A silver sedan with medium hardness paint showed only shallow wash marring and minimal RIDS. A robust one-step produced gloss within a point or two of what a true two-step would have delivered, at least to the eye. That job stayed a one-step and the client put the saved time into a headlight restoration and a wheel coating instead. The judgment is situational, not dogma.
Pad and polish combinations that take the mystery out
There is no single recipe that wins on every paint system, but a handful of combinations reliably handle 80 percent of what rolls into a bay. A medium-cut polish on a low-profile foam cutting pad forms the backbone for many jobs. For heavier defects or hard clears, a dedicated compound on a microfiber cutting pad sets the stage. For the refine, a finishing foam paired with a non-filling, fine abrasive polish produces predictable clarity. Avoid heavy reliance on products with lots of fillers if you plan to follow with a ceramic coating. Solvent wipe-downs can collapse the illusion.
Temperature, humidity, and machine throw alter how these combinations behave. Long-throw DAs cut faster but can induce DA haze on some clears with aggressive pads. In those cases, drop to a short-throw machine for the refine. Wool pads cut fast and run cool, useful on repaints and gelcoat during marine detailing, but they require a confident refine step to clear their signature haze. Stay flexible, and do not be afraid to switch just the pad while keeping the same liquid to fine-tune behavior.
Managing edges, repaints, and thin spots
Edges heat quickly and are usually thinner than flats. Tape them, then reduce pressure and overlap gently or even polish adjacent to them instead of across them with a cutting pad. On repaints, expect softer or stickier behavior. Compounds can bite harder than expected, then smear. Spread the product at low speed, bring it up gently, and shorten working cycles. Keep a paint gauge handy when possible. If you have no gauge, be conservative on high-risk areas, door edges, sharp creases, and around body lines. The best correction plan includes places you intentionally do not chase to 100 percent.
For older vehicles and RV detailing with oxidized gelcoat, the approach changes. Gelcoat does not behave like clear coat, it clogs pads and needs wool or aggressive foam with heavier compounds. The second step can be a medium polish rather than an ultra-fine, because gelcoat clarity caps lower than automotive clear. Expect more residue and clean pads often. The payoff on a boat hull or RV cap is dramatic, a chalky surface that turns deep and reflective.
Where headlights and trim fit into a two-step mindset
Headlight restoration mirrors paint correction principles. You level the damage with sanding or compounding, then refine to restore optical clarity before sealing. Many times, we finish headlights with a dedicated UV-resistant coating or a clear protective film. Doing the headlights alongside a two-step on the body keeps lighting consistent, because nothing kills the impact of a freshly corrected black car like hazy polycarbonate lenses.

Glossy piano black interior trims benefit from similar thinking, but margins are razor thin. If you polish them, do it with minimal pressure interior coating and an ultra-fine polish, then protect with an interior coating that adds slickness and scratch resistance. Door pillars and B-pillar trims, often piano black plastic, respond well to a quick refine pass, which removes wash trails and restores that deep black mirror look.
The role of lighting and inspection, before and after
A two-step lives or dies by inspection. Use mixed lighting: LED swirl finders show directionality, diffused shop lighting reveals uniform haze, and sunlight displays overall depth. Inspect at multiple angles after wiping with a body-shop safe panel wipe. Do not let oils or fillers trick you into thinking the finish is perfect when it still holds faint haze. After the refine, step back and look at reflections from across the bay. If the edges of lights, door frames, and lift posts look razor sharp, you have nailed the refine. If they bloom, check your pads and technique.
After coating, revisit the car in the same lighting. Ceramic can alter the way light plays across the surface, not by hiding flaws, but by amplifying clarity. The cleanest test, one we use at On the Spot Mobile Detailers, is to shine a small LED at a low angle across a corrected panel and compare it to an adjacent uncorrected panel during the process. When the corrected panel throws a tighter, more defined highlight, the refine stage did its job.
How mobile detailing constraints change the plan
Out in the field, you do not always have a perfect environment. Wind kicks up dust, sunlight bakes panels, and power may come from a generator. A good mobile detailing setup adapts. Work panel by panel, keep pads in sealed bags until needed, and switch to shorter cycles when panels are hot. Use canopies when possible. Bring extra pads. A two-step can be done outside, but discipline matters, especially when preparing for ceramic coating or residential coating on garage-kept vehicles. The margin for error narrows when contaminants float around.
Working on driveways also introduces neighbors, trees, and curious pets. Tape more thoroughly, and be mindful of overspray if you are also doing wheel coating or trim dressings. It is better to slow down and maintain cleanliness than to correct dust-induced marring you caused mid-job.
On the Spot Mobile Detailers: how we choose two-step versus one-step
At On the Spot Mobile Detailers, the decision begins with paint assessment, owner expectations, and how the vehicle is used. A black coupe that only comes out on weekends and is headed for a ceramic coating usually gets a two-step, even if the defects are not severe. The owner will inspect it in direct sun and under streetlights, and that last bit of clarity makes sense. A white work truck that sees construction sites every day may not justify the extra refine time, so a strong one-step, a durable protection layer, and careful wash instruction deliver better value.
When a two-step is chosen, we document test spots with photos and short notes. For a recent metallic blue hatchback, the test showed that a medium foam with a diminishing compound cleared 80 percent of the marring, but the metallic flake looked muted until we refined with a fine polish. The owner cared more about the way the flake popped than absolute defect removal. That set the strategy, and the result drew compliments not because the scratches were gone, but because the color looked alive again.
Trade-offs, time, and where to draw the line
Two-step correction costs more time and clear coat than a one-step. It also yields a finish that holds its gloss longer, especially if followed by a durable ceramic coating. On soft paints, you may have to correct with a milder cut than you want to preserve clear and avoid chasing endless re-marring during the refine. On harder paints, you may invest more time in the cut, then enjoy an easy refine. Knowing where to stop matters. RIDS that catch a fingernail often require wet sanding or are simply too deep to remove safely. You can lighten them and improve the panel’s overall appearance without flattening the clear excessively.
There is also the human factor. Perfectionists can burn hours chasing defects visible only at extreme angles under intense light. If the owner cares about that, plan accordingly. If they do not, get the global picture stunning, protect it, and spend time teaching a safe wash method that avoids creating new marring.
How paint correction relates to the rest of detailing services
Paint correction never happens in a vacuum. It ties into car detailing as a whole. When the paint is right, glass looks clearer, trim appears richer, and the entire vehicle reads as cared-for. Wheel coating, properly prepped, keeps brake dust from etching freshly refined wheel faces. Interior coating preserves touch points, steering wheels, and high-gloss trims so the cabin ages gracefully alongside the exterior. Headlight restoration completes the visual package. For marine detailing, the principles carry over with different materials and machines, but the eye for clarity remains the same.
Residential coating projects, such as applying ceramic to garage floors or home surfaces, borrow similar prep discipline: decontamination, mechanical refinement where needed, then protection. The tools change, the surfaces change, but the mindset stays steady, do the foundational work correctly, then lock it in.
A simple decision framework for two-step versus one-step
- Paint condition: If moderate to heavy swirls, water spot etching, or sanding marks are present, lean two-step. If only light wash marring shows, test a strong one-step. Color and sensitivity: Dark or highly metallic colors benefit more from two-step refinement because haze is more visible and clarity matters. Owner expectations: Show-car look and ceramic coating plans favor two-step. Daily drivers with utilitarian goals often do well with one-step plus protection. Paint system: Hard clears may require aggressive cut then easy refine. Soft clears might need a milder cut and extra pad hygiene to avoid re-marring during refine. Time, environment, and risk: Mobile detailing constraints and thin edges argue for caution. Sometimes 90 percent perfected safely beats 98 percent with higher risk.
What a good two-step finish looks and feels like
Under a swirl finder, the surface shows tight, clean grain with no uniform haze. Under diffuse light, it looks liquid, with reflections that do not bloom or fuzz at the edges. Under sunlight, metallic flake pops and appears suspended rather than buried. Under your hand, after a wipe with a body-shop safe panel wipe, the paint feels slick but not oily. After a ceramic coating, water behavior sharpens, but the underlying clarity you built remains the star.
I like to check the hood at a shallow angle, standing off to the side. If the edge of a light or a window frame reflects with a crisp, knife-like boundary, the refine did its job. If it feathers outward, you are seeing the last of the micro-marring that a better pad choice or a fresh pad might have cleared.
The discipline that keeps results consistent
Consistency comes from process. Use a test spot, document what works, replicate. Clean pads often, especially when cutting. Control heat. Inspect in multiple lighting conditions. Protect correctly. Teach maintenance. When the vehicle comes back months later, you can see how your decisions aged in the real world, whether on a coated sedan, a weekend truck that sees trail dust, or a boat that bakes in marina sun. That feedback loop is how skill sharpens over years.
On the Spot Mobile Detailers leans on this discipline because mobile environments change daily. We might correct a black coupe in a shaded driveway in the morning, then handle a headlight restoration and wheel coating on a work truck after lunch. The variables are constant, but the habits stay the same, and that steadiness keeps the finish honest.
Final thoughts, minus the fluff
Two-step paint correction is not a magic trick, it is a methodical way to get both the cut you need and the gloss you want. It earns its place when defects run deeper than a quick polish can reach, when color and clarity matter more than a passable shine, and when you plan to lock the surface under a ceramic coating that leaves no place for haze to hide. Know your paint, choose tools deliberately, respect the clear, and let inspection guide your hand. When you get it right, the surface stops looking simply shiny and starts looking like it is holding a pool of ink, glossy, crisp, and true from every angle.